A Guide to Cupping Coffee at Home
Coffee cupping is an essential tool for coffee roasters and speciality coffee shops, but it's also really good fun to try out at home!
Whether you’re a professional roaster, barista, or just a coffee enthusiast, cupping allows you to evaluate the quality of different beans, understand their distinct characteristics, and compare different roast profiles. In this guide, we’ll walk you through the equipment you need, the step-by-step cupping method, and why cupping is a crucial part of the coffee experience.
Cupping Equipment
Equipment
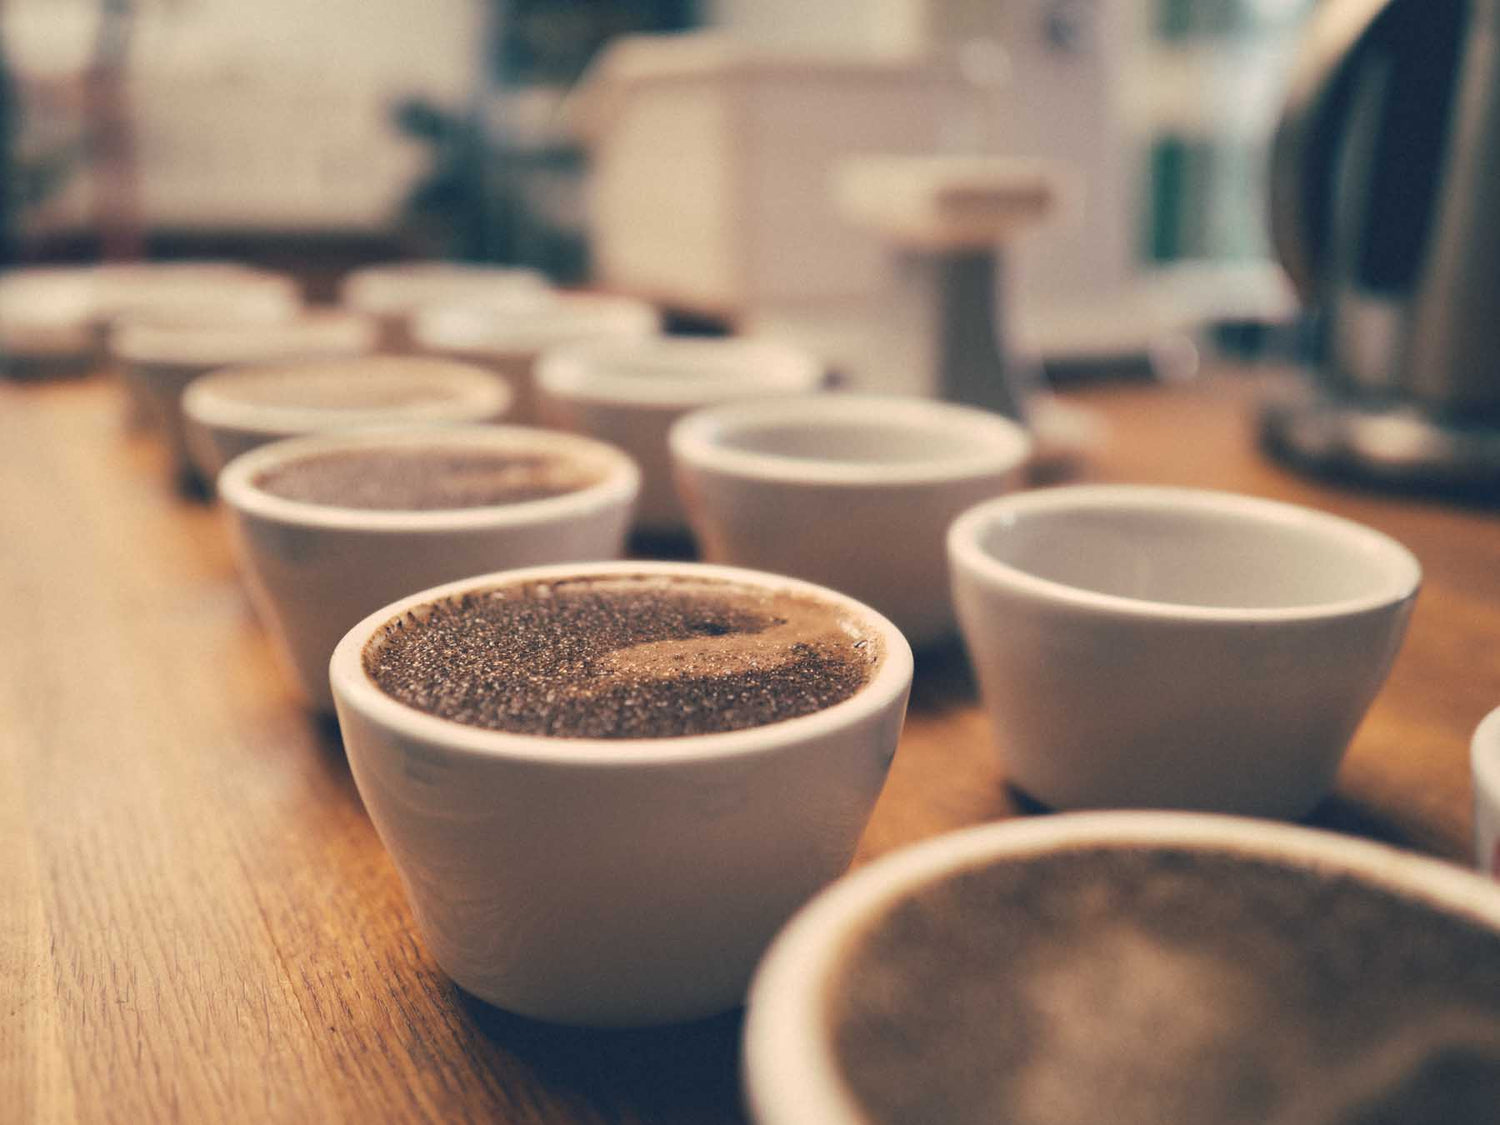
- Bowls or glasses that hold 200-260ml of water.
- A set of scales
- A coffee grinder
- Cupping spoons (soup spoons work well)
- A timer
Ingredients
- Coffee (best to have a few different types, or roasts for comparison)
See Cupping in Action
Cupping Method
1. Weigh out the coffee beans
Do this at a ratio of 8.25 grams per 150ml of water. So if your cups hold 200ml use 11 grams of coffee.
2. Grind the coffee.
Do this slightly courses than you would for paper filter brewing - (a course sand like texture ideally).
3. Boil the kettle.
Make sure this is at a temperature of around 93-95 degrees. If you don't have a thermometer, let the kettle boil and wait around 30 - 60 seconds.
4. Pour the water over the coffee.
Make sure that the water fully saturates the coffee. Use a scale and fill the cup or bowel with the amount of water based on the correct coffee to water ratio.
5. Start your timer.
A crust should form on the top of the coffee. Once your timber reaches 4 minutes, break the crust using your spoon. It's best to use three movements of the spoon to do this.
6. Skim off any remaining crust of the coffee.
7. Start slurping your coffee
Once your timer reaches 10 minutes you can evaluate the coffee by 'slurping' from your spoon. It's important to 'slurp' in order to aerate the coffee. Most of our flavour perception is based around smell and 'slurping' the coffee will help to make sure you are able to asses properly.
8. Keep tasting as the coffee cools.
Remember - professional coffee cuppers will spit the coffee out to avoid over caffeination!
9. Evaluate the coffee..
When evaluating coffee professionally we use the SCA cupping form. On this form we evaluate dry and wet fragrance, flavour, aftertaste, acidity, body, balance, sweetness, clean cup, uniformity, defects and the overall enjoyment of the coffee.
If you are new to this process the best option is to just note down differences between the coffees. Think about sweetness, acidity, body and try to identify some flavours that might jump out at you.
Cupping coffee is a great way to learn more about what you are tasting and to develop your pallet.
So, why cup coffee?
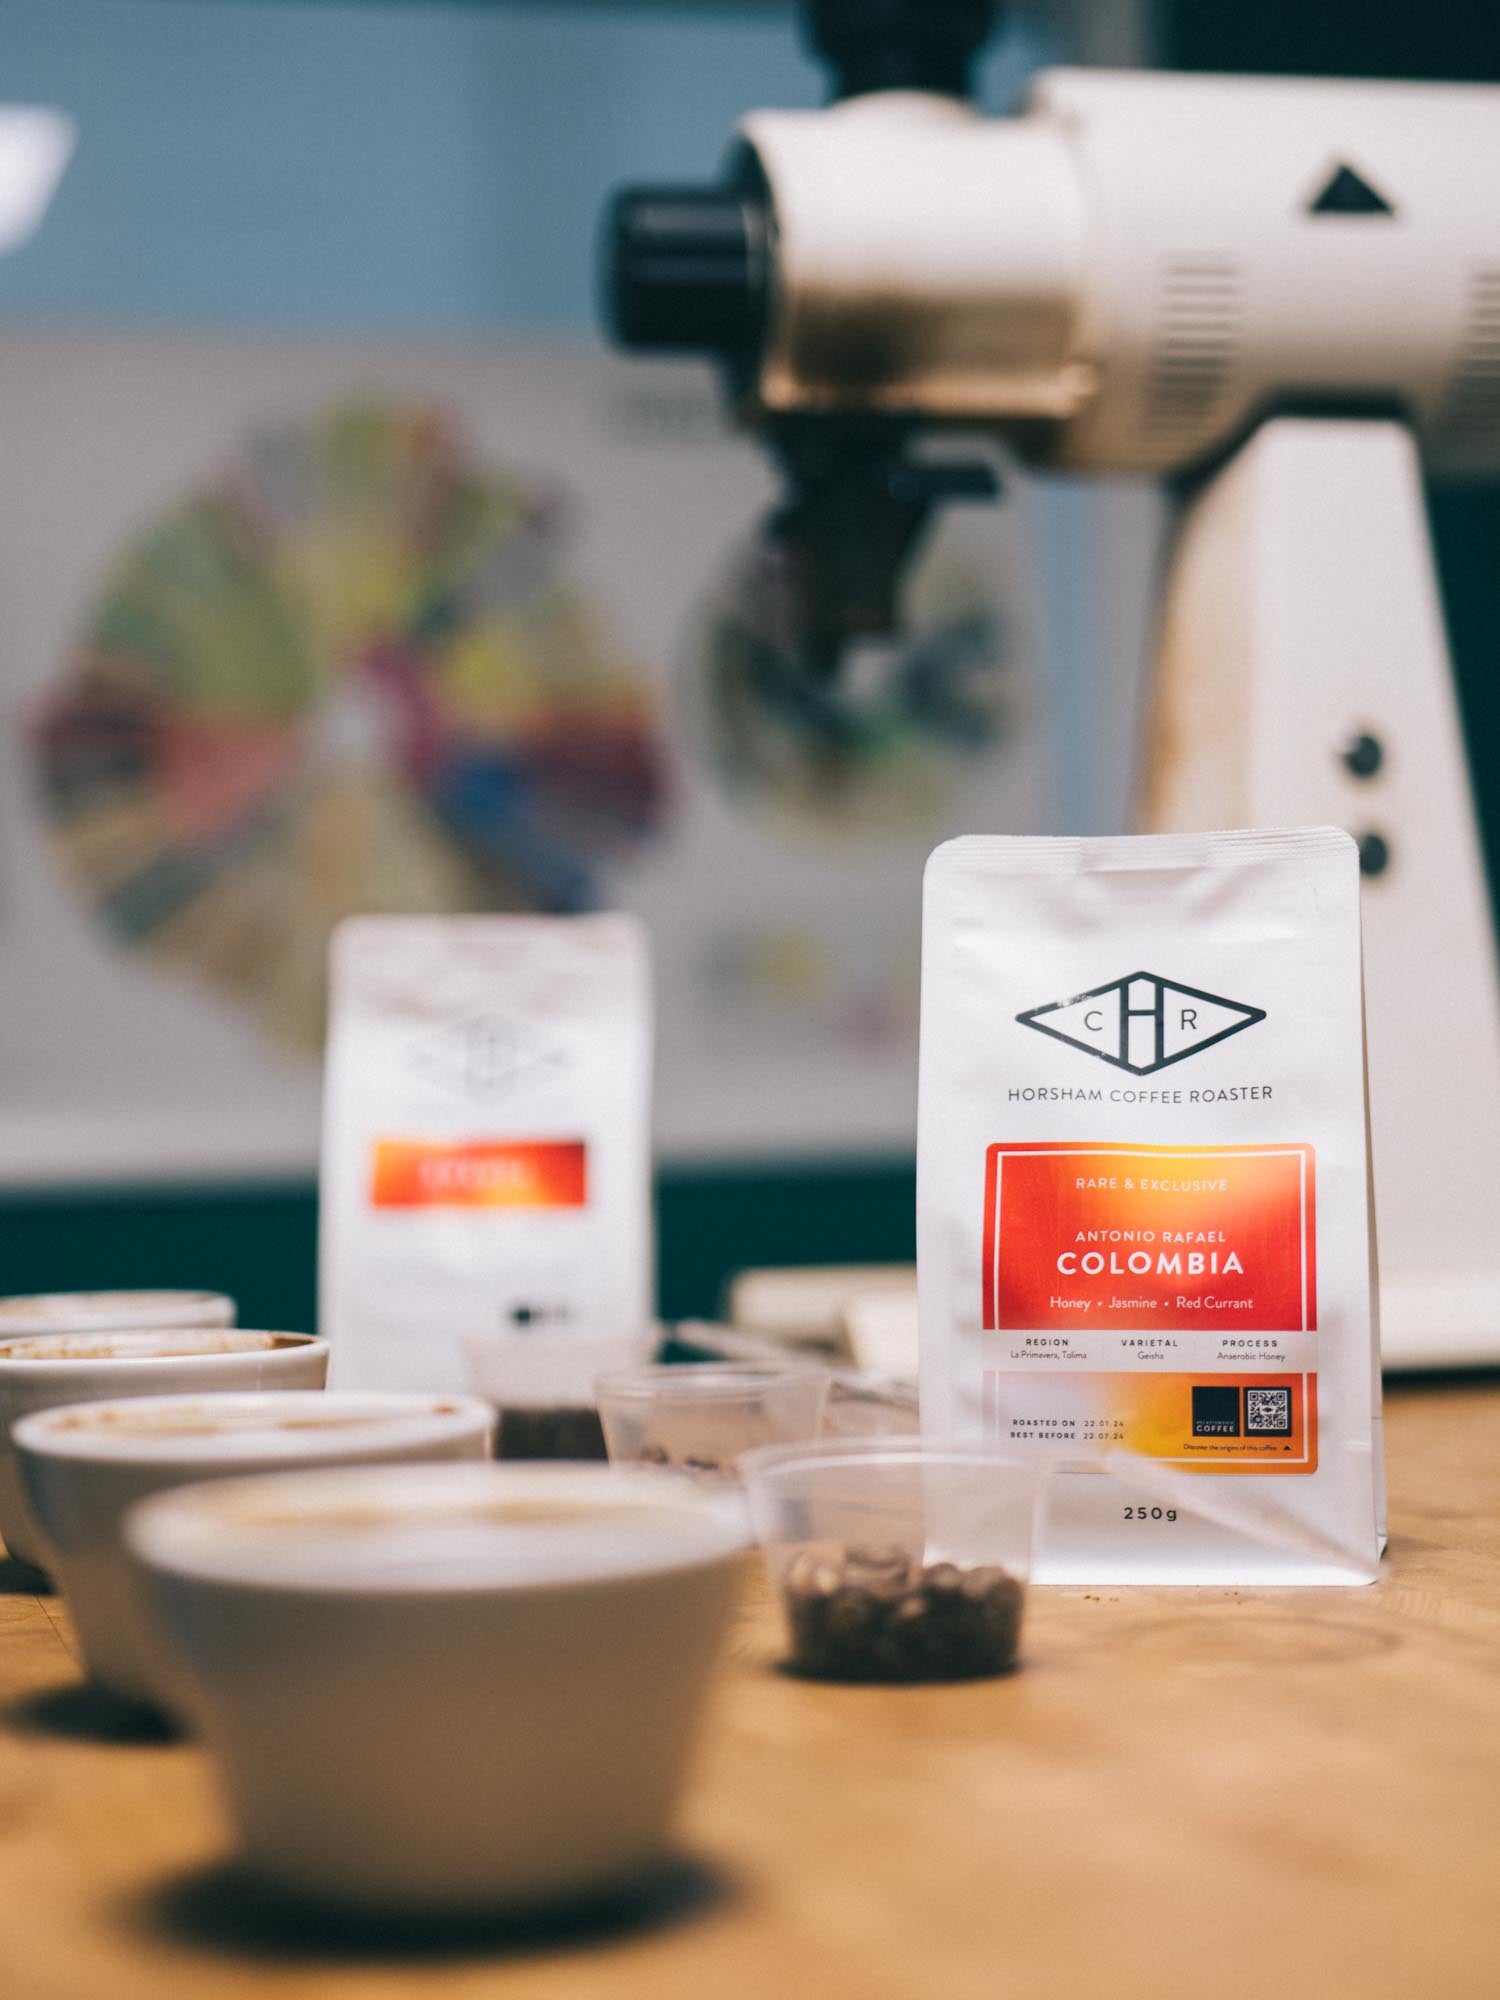
The main reason we cup coffees is to evaluate the quality of the beans. When a producer would like to export their coffee they will send samples out to potential buyers who will then evaluate the coffee. This evaluation of quality can have a significant effect on the final price. In a roastery environment, coffee shop or at home we can use cupping to evaluate the roast. It's a great way to determine if the roast is too light, too dark or just right. Finally, and this is the fun part, we can simply use it to decide how much we like (or dislike!) a particular coffee!
What coffee should you choose for cupping?
When cupping coffee at home, it’s best to start with a variety of single-origin beans from different regions. This will allow you to truly appreciate the unique flavour profiles that each origin offers. For example, you might choose a bright, fruity Ethiopian coffee alongside a rich, chocolaty Colombian, and a nutty, earthy Brazilian. By selecting beans with distinct tasting notes, you can more easily detect the differences in acidity, body, and aroma, deepening your understanding of how origin, processing, and roast levels influence the coffee’s flavour.
Delicious Coffees Suitable for Cupping
-
Horsham Coffee Roaster
Coffee of the Month Subscription
Regular price From £10.25Regular priceUnit price per -
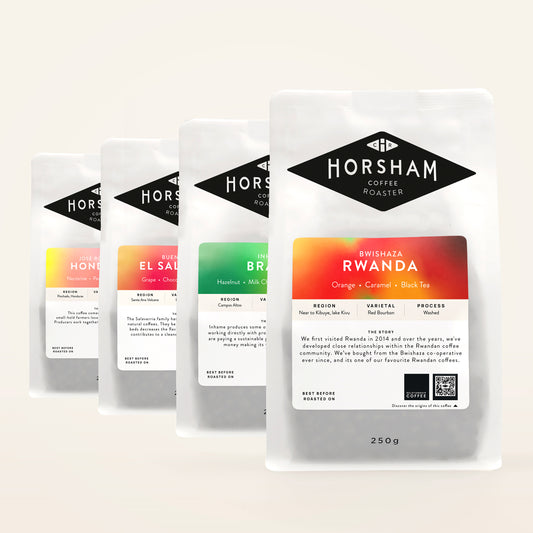 10% OFFHorsham Coffee Roaster
Single Origin Coffee Selection
Regular price £36.22Regular priceUnit price per£40.25Sale price £36.22Sale -
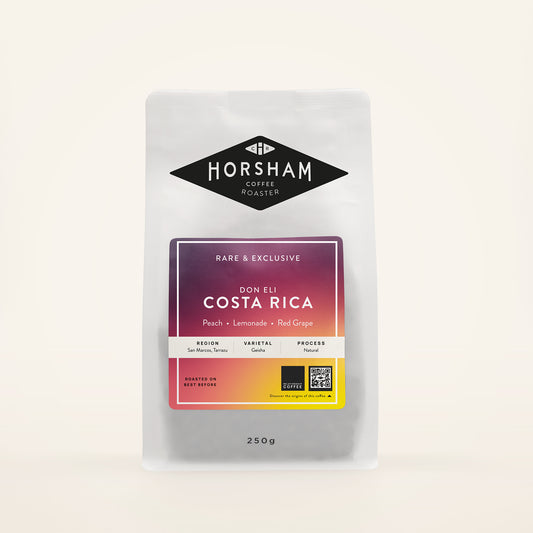 NEWPeach | Lemonade | Red Grape
Don Eli Geisha Costa Rica | Natural
Regular price From £19.50Regular priceUnit price per£0.00Sale price From £19.50NEW -
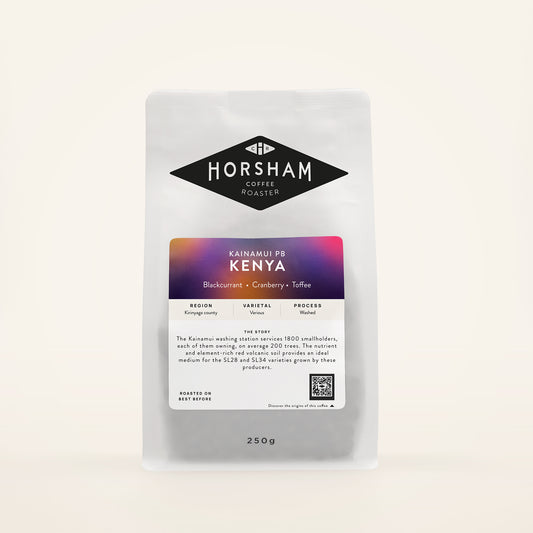 NEWBlackcurrant | Cranberry | Toffee
Kainamui PB Kenya | Washed
Regular price From £13.50Regular priceUnit price per
